
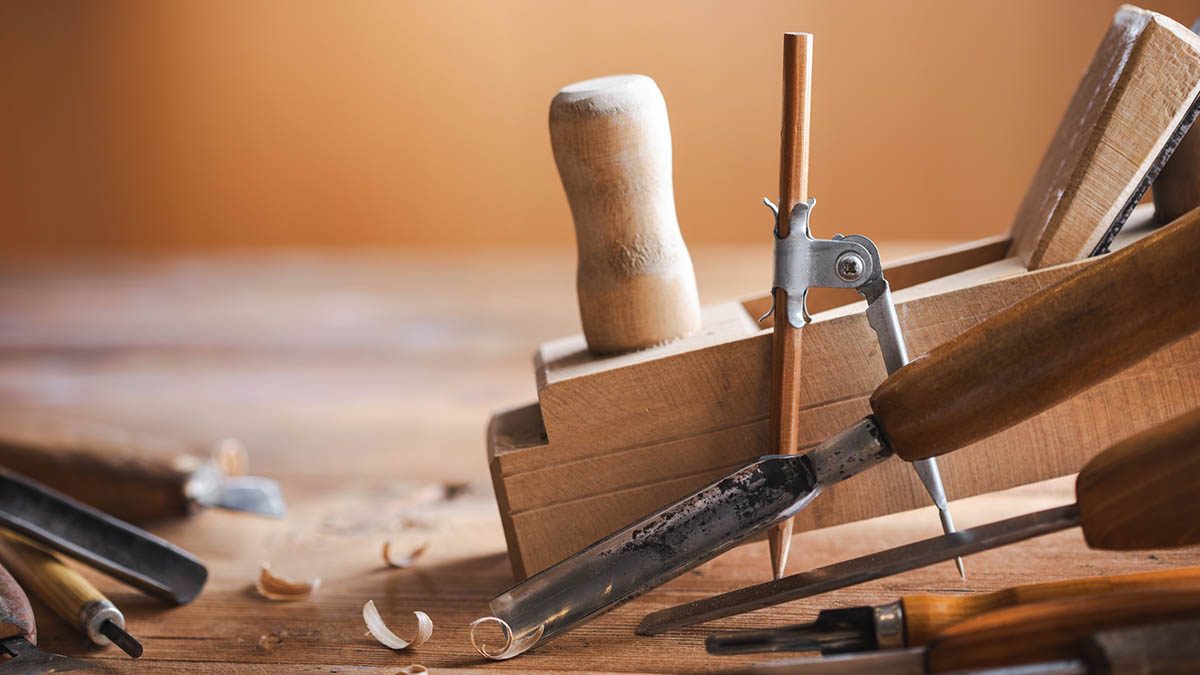
Take your old furniture from dated to designer
Breathing new life into a worn, outdated piece of furniture is more than just a budget-friendly alternative to buying new—it’s an opportunity to create something truly unique. As furniture prices continue to climb due to tariffs on imported goods and rising raw material, energy, and transportation costs, many people are turning to DIY makeovers as a creative and cost-effective way spruce up their home.
Whether you’re sourcing finds from Facebook Marketplace, scouring yard sales, haunting flea markets, or shopping vintage stores, Ashley Streets, owner of Haven & Co., says, “Solid wood furniture is really in right now.” Streets specializes in furniture transformations and often shares the results on social media.
Streets learned painting and refinishing skills from her father, who ran a family refurnishing business. “My clients often have treasured pieces passed down through generations. I’ve redone everything from a little table lamp to an entire bedroom set of four huge pieces. People love the craftsmanship of vintage furniture . . . these pieces are totally different from anything you would find in a big box store.”
According to interior decorator and home styling expert Robbie Randolph of Randolph Estate Living, “Refurbishing a good quality piece of furniture that’s well-made adds unbelievable flair and a distinct sense of personal style to any room.”
DIY directions
Staining or painting? Each has a different process.
Pro Tip: The difference between an amateur-looking furniture makeover and a professional-quality finish comes down to patience. Taking the time to sand properly and allowing each coat to dry completely delivers the best results.
For a Stained Finish
Remove the Existing Finish
If the piece is painted, stained, or varnished, strip away the old finish completely.
Clean the Surface
Wipe the wood with mineral spirits to remove dust, residue, and any remaining stripper.
Sand Thoroughly
Sand the entire piece, starting with 120-grit sandpaper and progressing to 220-grit for a smooth, even surface.
Apply Wood Conditioner
Use an oil-based or water-based wood conditioner (depending on your stain) to help the wood absorb the stain evenly.
Stain the Wood
Apply the stain according to the manufacturer’s directions and allow it to dry completely.
Seal with Polyurethane
Protect the finish by applying two to three coats of polyurethane, lightly sanding with 220-grit sandpaper between coats for a smooth, professional finish.
For a Painted Finish
Clean the Furniture
Remove dirt, grease, and grime to ensure proper adhesion.
Strip and Sand
If old paint is peeling, chipping, or uneven, strip it away completely. Sand the surface until smooth and free of imperfections.
Prime the Surface
Apply a quality primer, such as Kilz, to create a strong foundation for the paint and to improve durability.
Paint the Piece
Apply thin, even coats of paint, allowing each coat to dry completely. Most projects require two to four coats.
Sand Between Coats
Lightly sand between coats with 220-grit sandpaper to achieve a smoother, furniture-grade finish.
Seal for Protection
Once the final coat of paint has fully cured, apply polyurethane to protect the surface from scratches, moisture, and everyday wear.
Final Touches
New hardware and drawer liners can add custom style and character to your piece.
Follow Ashley Streets on Instagram @haven_co_greenville_furniture or on Facebook at Haven & Co.


