
At Front Yard Foods, Laura Fernandez makes the connection between farming and community.
It’s easy to recognize Laura Fernandez’s front yard. It’s the one with sunflowers nodding their golden heads above a labyrinth of raised garden beds. Tomatoes and basil, peppers and corn, a patch of strawberries, and an edging of lavender all form a wild quilt of produce in front of the brick rambler that Fernandez and her husband and teenage son call home.
The Atlanta native, who came to Greenville in 1997 to attend Furman University, nurtures gardening in her soul. Her grandfather helped her till a bed for her first vegetable plot when she was 12. “I vividly remember mounding up the soil to plant squash and running lines of twine to create a trellis for beans and tomatoes,” she says. “It really sowed the seed for me, and I’ve always grown something since then, be it on the windowsill of my dorm room or in a larger garden.”
A winding road led her to where she is now. After majoring in studio arts, she studied in Italy as part of her graduate work. It was there she discovered the intense joy of buying fresh food at the market in the morning and cooking it the same night. That led her into the food industry, then eventually back to the arts to work in several Greenville galleries. During a brief stint with a chef in Nashville, Fernandez learned about flavor components and how ingredients work together.
Front Yard Foods
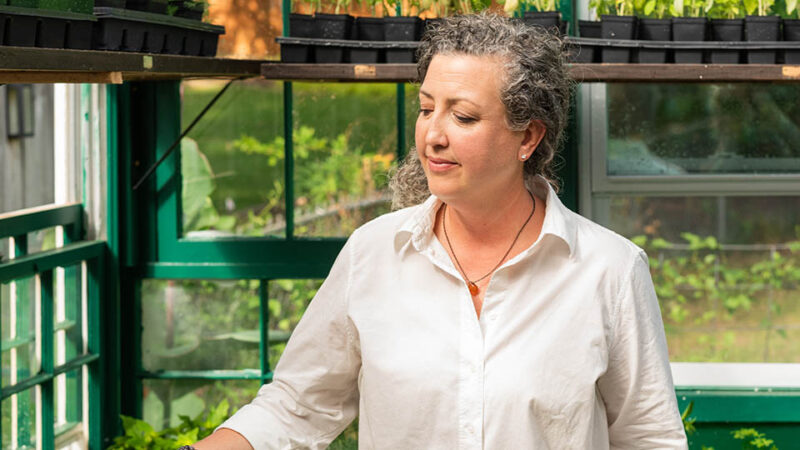
Roughly a year ago, she followed her heart back to growing food. After helping a friend grow tomatoes, others requested consultations, too. Several years working in a local garden center provided her with an understanding of the plant industry, while volunteering on area farms gave her hands-on experience in the dirt. Fernandez fell in love with the farming community and sprouted Front Yard Foods to help people understand the source of their food.
“I do garden consultations and installations. I advise about pests. I build raised beds and can design gardens from scratch based on client needs. I just try to get people [growing food] wherever they are. I want people to realize how much abundance you can create in a small space.”
She doesn’t sell her crops, but she does raise thousands of seedlings in her greenhouse to sell at farmers markets in Travelers Rest and Greer, and teaches cooking classes at Cook’s Station. She covers the whole field, instructing folks how to grow food from seed, understand soil, and what to do with the food once they harvest it.
Today, she’s come full circle from that first garden in Georgia. “What I’m doing now has been a natural progression from my interests, my career paths, my lifestyle choices,” says the urban farmer. “I thought [Front Yard Foods] was going to be just about growing food, but it’s really been about growing relationships and growing community. It’s a huge gift.”
Sourdough Bread Recipe
From Laura Fernandez
Makes 2 loaves
Ingredients:
- 250g active sourdough starter*
- 685g water
- 1,000g unbleached all-purpose flour
- 24g salt
*Feed your starter 6 to 10 hours prior to baking. You want the starter to be active and bubbly and at its highest peak when using it.
Instructions:
- In a very large ceramic or glass bowl—do not use a metal bowl—combine water and starter. Mix until milky.
- Add flour and mix by hand for 2–3 minutes. Cover and leave on the counter for 1 to 1 ½ hours.
- Wet your hands and mix in salt for 2–3 minutes, stretching and folding the dough back on itself (your hands should be wet, but be careful not to add excess water to the mix). Cover and let sit for 30 minutes.
- Stretch and fold the dough, turning the bowl quarter turns between stretches. Cover for 30 minutes.
- Stretch and fold again, turning the bowl quarter turns between stretches. Cover for 2 hours. (At this point, you can refrigerate the dough for up to 15 hours, instead of covering and leaving on the counter for 2 hours. Remove from the refrigerator, allow to rest at room temperature for about 20–30 minutes, then shape and continue with instructions.)
- Scrape dough out of the bowl and onto a lightly floured counter. Gently fold it into a ball. Divide dough in half.
- Stretch one half of the dough into a thick rectangle and fold over in thirds like a letter. Starting at the narrow end, roll up to create a round loaf form, pulling and pushing against the dough to form tension.
- Repeat with the other half of the dough. Leave on the counter for 20 minutes to rest.
- Repeat stretching, folding, and rolling. The bread should already have a bit of tension developed, so be gentle.
- Place dough in a floured proofing basket, cover with plastic and refrigerate for 1½–2 hours.
- During the last 45 minutes of your rise, preheat the oven to 450°F with a Dutch oven or baking pan in the oven. Do not skip this step! If you forget to preheat the cooking vessel, restart the preheating time. Your vessels must be piping hot for the bread to rise correctly.
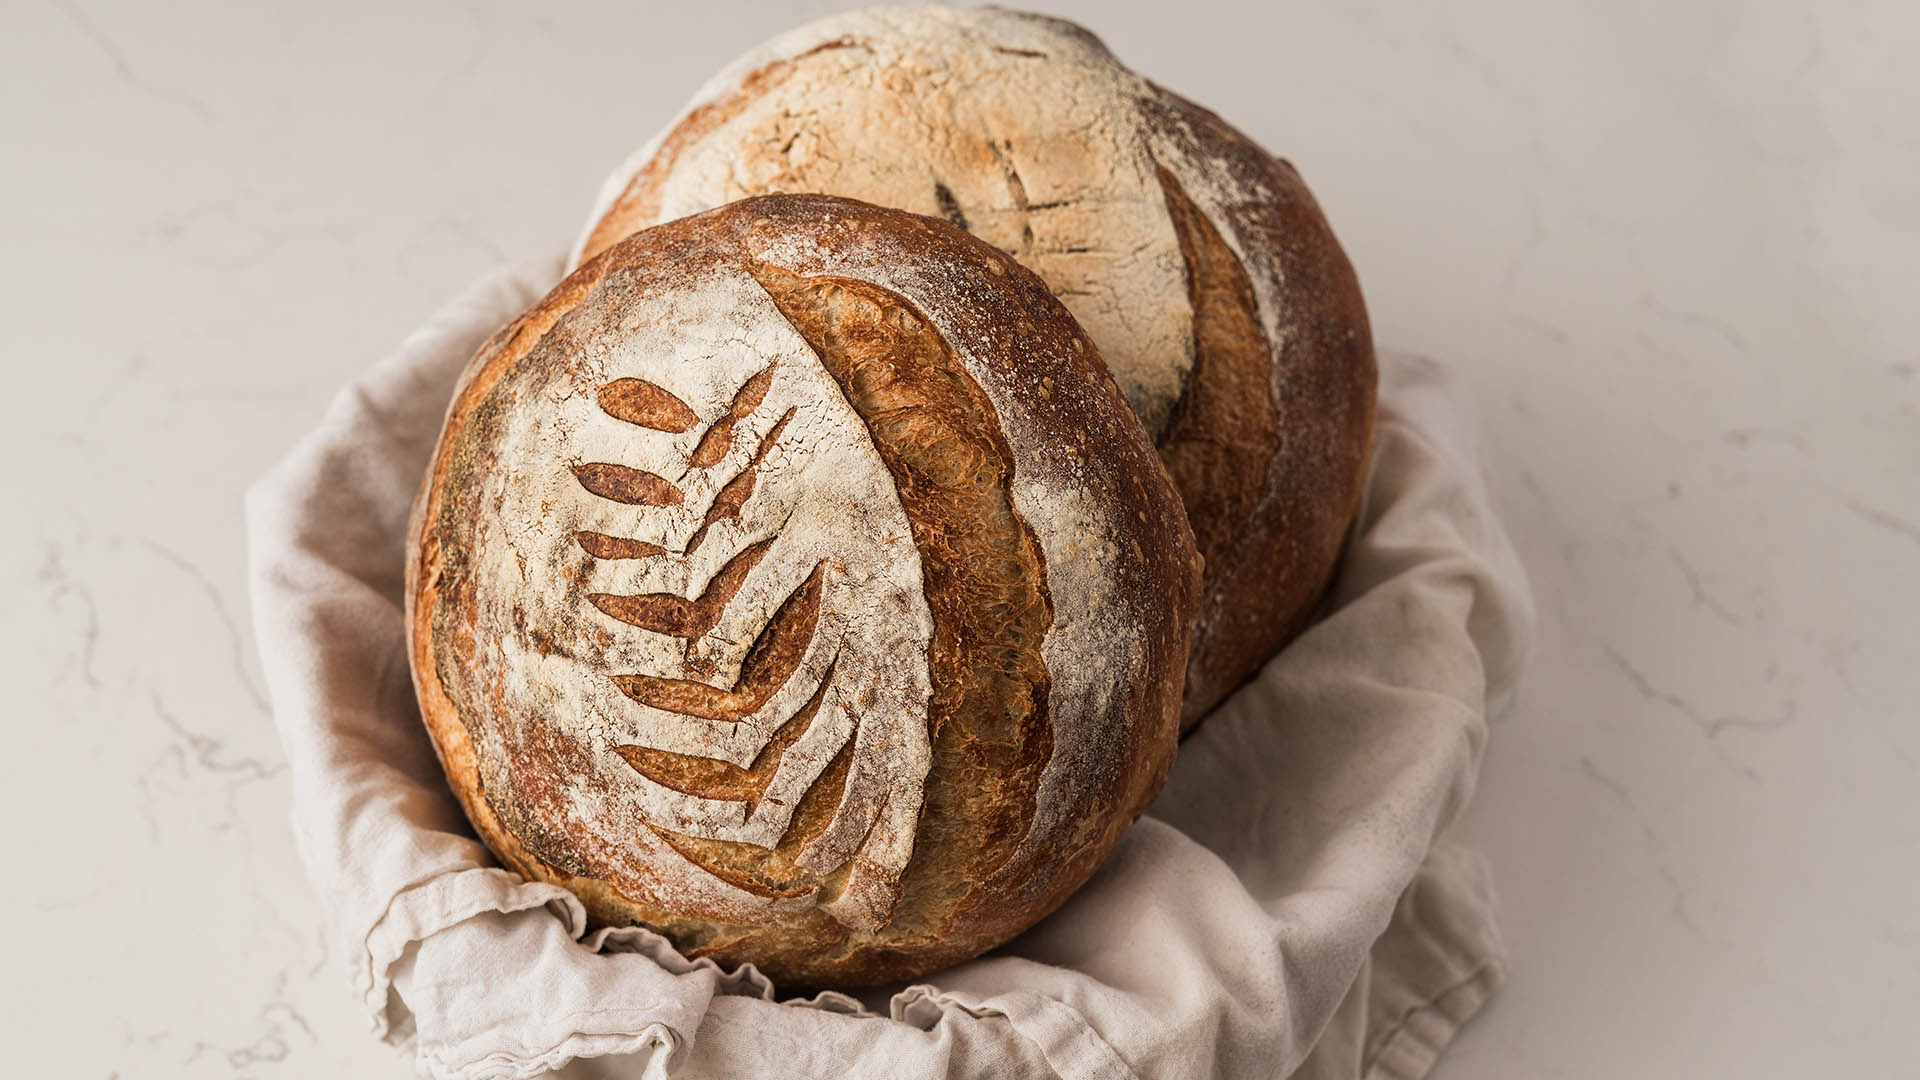
- Turn dough onto parchment paper and, using a bread lame, decorate in desired manner. You do not have to cut the top of the bread; it will split naturally and create a more rustic-looking loaf.
- Using the parchment paper, lift dough into a baking pan, cover, and return to the oven. Bake each loaf at 450°F for 25–38 minutes.
- Remove the lid and bake for an additional 10–15 minutes. If desired, remove loaf from pan and bake directly on an oven rack for the last 5 minutes. Do not be afraid for the loaves to darken up; new bakers often undercook their loaves.
- Allow to fully cool on a cooling rack before slicing. This is important, as cutting warm bread will ruin the inside texture.
- Eat your sourdough within a few days or slice and freeze.


